Creating a Phone Routing Rule in SMPPCenter’s SMPP Software allows you to redirect messages for specific phone numbers to a different vendor. Here’s how to set one up:
Steps to Create a Phone Routing Rule:
- Log In: Access your SMPPCenter account.
- Navigate to Route Rules: Go to Sidebar -> SMPP Client -> Rules -> Route Rules.
- Add a New Rule: On the Route Rules page, click Add in the top-right corner to open a modal form.
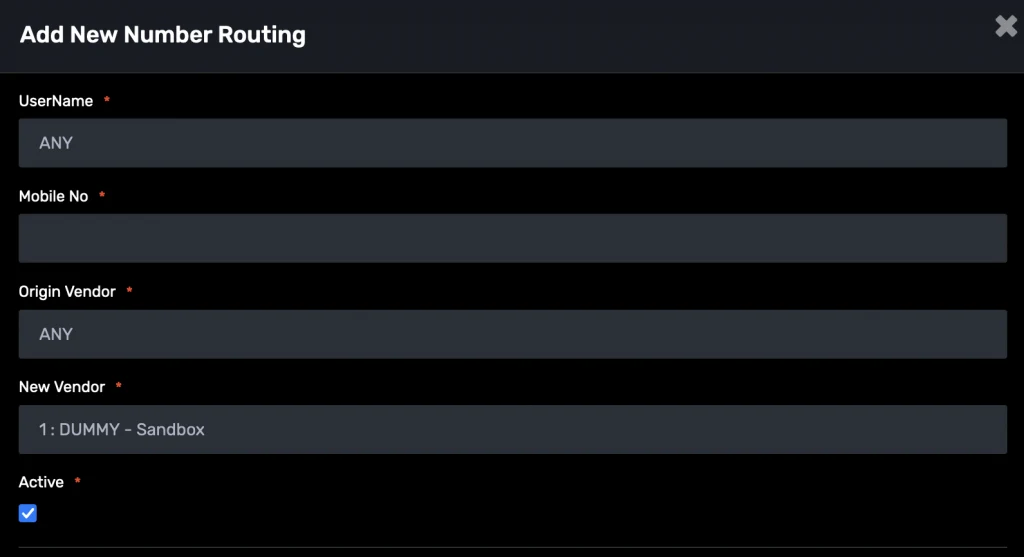
- Fill in the Details:
- UserName: Select Any to apply the rule to all users, or choose a specific username to apply the rule to that user only.
- Mobile No.: Enter the phone number to apply the rule to, including the country code (e.g.,
9199999xxxxxfor an Indian number). - Origin Vendor: Select the vendor you do not want to send the message to (e.g., Operator A).
- New Vendor: Select the vendor you want to forward the message to (e.g., Operator B).
- Active: Check the box to activate the rule; leave it unchecked to keep the rule inactive.
- Save the Rule: Click Save to apply the rule to your messaging workflows.
Best Practices:
- Always include the country code in the Mobile No. field to ensure accurate matching (e.g.,
+9199999xxxxxor9199999xxxxx). - Test the rule with a sample message to confirm that messages are routed to the new vendor as expected.
Phone Routing Rules give you control over message delivery in SMPPCenter’s SMPP Software. For assistance, contact our support team.