We’re excited to announce the addition of the “Change Reseller” feature in our latest 5.4 version. This enhancement empowers administrators by allowing them to change the reseller associated with a customer user directly from the admin panel.
Here’s how to utilize this feature effectively:
- Navigate to the Users Section: Start by accessing the Users section from the Sidebar Menu. Locate the user whose reseller you wish to modify in the user list.
- Edit User Attributes: Click on “Edit User” from the Action column for the user in question. This will take you to the user’s profile page.
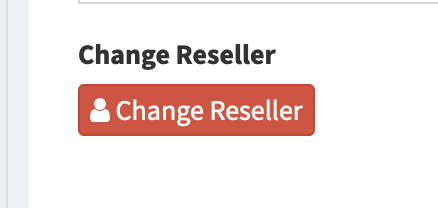
- Visit the Global Attributes Tab: Within the user’s attributes, find and click on the “Global Attributes” tab. This is where you’ll discover the “Change Reseller” option. Refer Screenshot 1.
- Change Reseller: Click on the “Change Reseller” button. A modal will promptly appear on your screen.
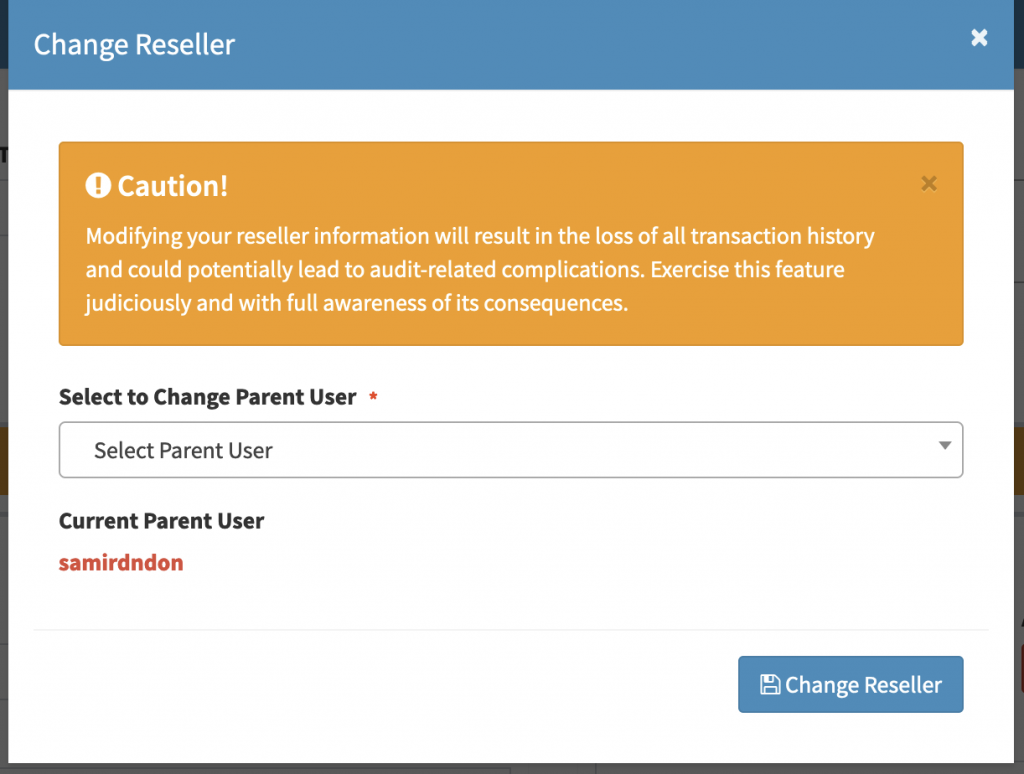
- Select the New Reseller: In the modal, you’ll find a dropdown menu listing all available resellers. Choose the desired reseller to assign to the user. Refer Screenshot 2.
- Confirm the Change: After selecting the new reseller, confirm your choice by clicking the “Change Reseller” button.
Congratulations! You’ve successfully assigned a new reseller to the selected user, ensuring a seamless transition of their user type.
Please Note: This feature is applicable exclusively to “Customer User Types.”
Important Consideration: Changing the reseller information of a user is a significant action. It’s essential to be aware that such a modification will result in the loss of transaction history and may potentially lead to audit-related complications. We advise using this feature judiciously and with a clear understanding of its implications. Your decision should align with your business needs and operational requirements.